Share
Images tend to be the one of the key influencers of loading time for a website. This is why image optimization is so vital for not only performance, but for the overall user-experience for your customers and clients. Today, I’ll cover the “do's and don'ts” for making your site a lean, mean, optimized machine.
Image Size
Before we get into the nitty gritty of image optimization, I’d like to showcase a comparison of two images. Can you guess which one is 102 kb and which one is 510 kb?
Image One
Image Two

Optimizing an image doesn’t necessarily result in a visually lower quality image as many tend to believe.
There is also the misconception if the image is larger in size (taking up more of the screen), the file size goes up proportionately.
However, proper image optimization means you can have really large stunning images - with very small overall file sizes. To demonstrate this image optimization, we always ask clients and content editors to check out the Apple site.
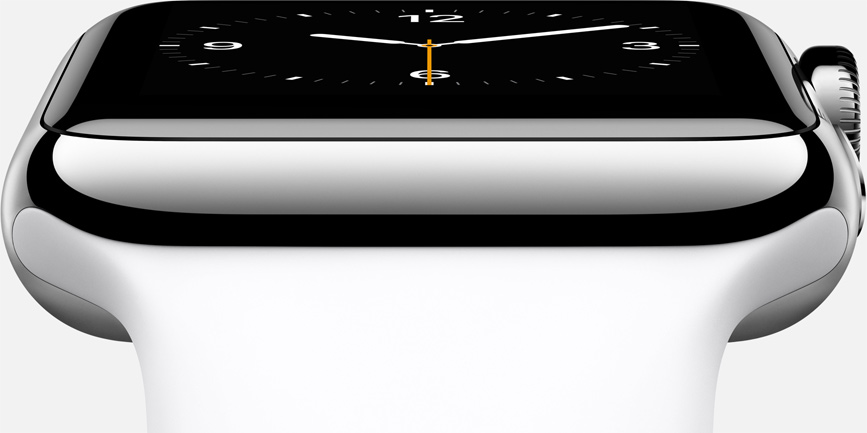
You can have the best of both worlds online - large image sizes and small file sizes.
File Types
JPEG, PNG, and GIF, we’ve all heard of them but what do they mean? Knowing the intended use for each image will help you determine the appropriate image file type.
JPEG
JPEG has the ability to show millions of colours and is heavily used for photography or highly detailed images like banners, product shots and backgrounds. Millions of colours results in larger files sizes, however, the JPEG file format allows for high compression which makes the file size smaller despite all of the image information present (see the image comparison above). JPEG doesn’t utilize transparencies like the PNG file format, however, there are now CSS / HTML tricks to mimic transparency without the size of a full-fledge PNG file.
Key takeaways:
- High compression options when saving your image to reduce file sizes
- Lots of image information (pixels) in this file format resulting in high quality images
- Re-sizing & re-saving images without the original image causes poor quality over time
- Transparency options with this file format are limited
- Use for banners, product shots and backgrounds
PNG
PNG has the option to use transparency which makes it effective for buttons, icons and other low pixel images. PNG has two versions: PNG-8 and PNG-24. The 8 in PNG-8 stands for 8 bit which means it can handle 256 colours. PNG-24 is similar to PNG-8 but instead of 8 colours, it can support 16 Million colours and will preserve gradients and other colour variations better.
Key takeaways:
- Very effective for web design with transparency options
- Less colour information but still very high quality images
- Use for navigation, buttons, hover states, and other common web design elements
GIF
The GIF file format was the pioneer of early web file formats. This format was unofficially replaced with the PNG file format.
Similar to PNG, GIF works effectively with low pixel images like buttons, icons and bullets. Animations used to be commonplace with the GIF file format and utilizing this format, for example, an icon you would like to animate for effect. The larger sweeping movements and transition effects online, are now down with javascript and HTML5. Therefore, this file format, while it still has a limited use, is now less common.
Key takeaways:
- Once the favourite file format for web
- GIF is not a very common file format currently
- Limited use for animated GIFs
Pixel Per Inch
Pixels Per inch (PPI) or Dots per inch (DPI) is a measurement of the pixel density of devices or images. Pixels are tiny “dots” in your picture - and collectively, they combine to create the actual image. The more pixels in the image, the more photographic information contained in the image and the higher the quality.
The concern online, is with internet bandwidth, combined with users need and want for information immediately, uploading images to your website with lots of pixels will slow down, and in some cases we have seen, can even crash a website. The more pixels, the higher the file size, and the longer it will take for the browser to load this image into a website when a user makes the request from their desktop, tablet, or mobile.
The rule of thumb is 72 ppi for web is used to reduce image size. Saving an image at 150 ppi will not enhance the quality for web - it will only increase the file size. If using images from a digital camera or mobile phone, insure the images are 72 dpi as some are exported at 300ppi from various devices.
File Size
To make things easy for you and your content editors, here is a quick list of recommended file sizes for all of your online images:
Banner Images: 100 KB or lower
Background Image: 80 KB or lower
High End Photography: 350 KB or lower
Full Screen Image: 350 KB or lower
Smaller Image: 40 KB or lower
Icon & Buttons: 10 KB or lower
Tools
We also know not everyone has the professional graphics applications and programs to edit images. So, here are some useful online tools for quick and easy image optimization.
http://www.imageoptimizer.net/Pages/Home.aspx
https://kraken.io/
http://www.webresizer.com/
Takeaways
- Large images can have small file sizes
- Use a mix of JPEG and PNG file formats
- GIF can still be useful for smaller animated images
- Always save to 72 dpi for online images
- Average file sizes should be 10 KB - 200 KB
- Large “Apple like” images may go up to 350KB